MacBook Pro RAM Upgrade: How to do it?
The MacBook Pro RAM upgrade process is quite simple. Let’s walk through the steps together. Before doing a MacBook Pro memory upgrade, make sure to follow these directions carefully to avoid damaging your computer.
This is an official procedure of adding memory by Apple. So you should not worry about it. But, we will not be responsible for any damage caused by failure to follow the procedure.
You can also follow this official video tutorial to learn how to add RAM to your MacBook Pro:
How to Add RAM to MacBook Pro?
Before attempting a MacBook Pro RAM upgrade, read the documentation first to identify the optimal slots for the DIMMs you’ll be installing. Shut down your Mac Pro and wait at least 10 minutes for it to cool down. Make sure the Mac Pro is completely cool before you open it.
- Unplug all external cables except the power cord, then touch the metal casing to discharge any static electricity before you unplug the power cord.
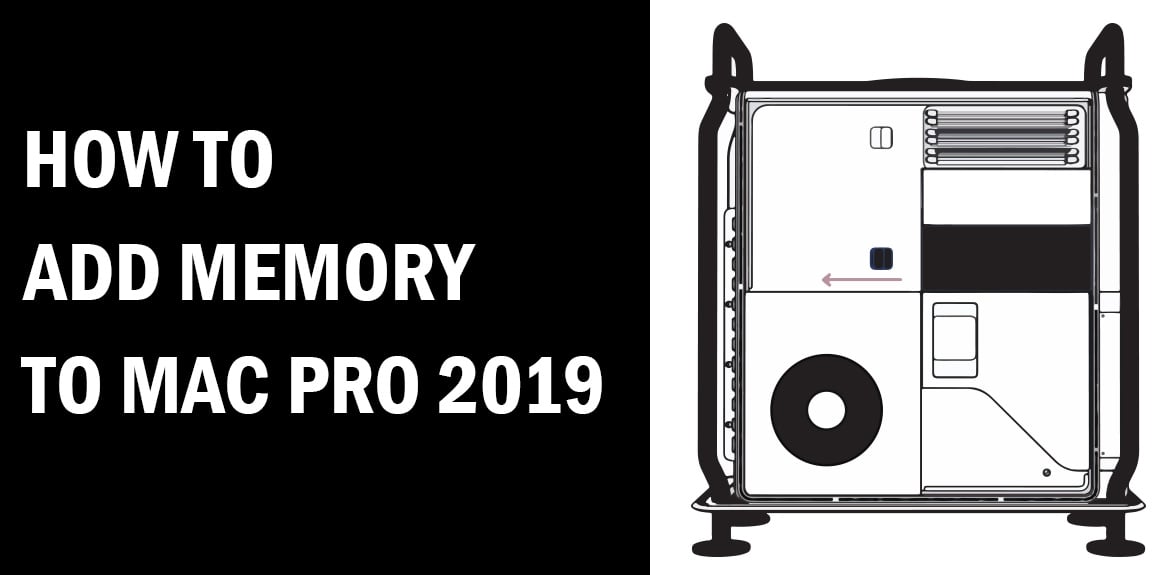
- To do a MacBook Pro memory upgrade, first, you need to open the device. To open your Mac Pro, lift the latch on the top and turn it 90 degrees to the left. Now lift the housing straight up and off the Mac Pro and set it to the side. Slide this DIMM cover latch to the left to unlock the cover over the upper set of DIMM slots.
- Remove the cover by pulling it out from the left side and setting it aside. Unlatch and remove the cover over the lower set of DIMM slots, too.
- Now open the DIMM ejectors on either side of the DIMM slots you’re using.
- To remove a DIMM, grasp it by the edges and pull it straight out. Always be careful not to touch the golden contacts on the back of a DIMM.
Suggested Reading: How to Do MacBook Pro Graphics Card Upgrade
- Add RAM to MacBook Pro by carefully aligning the DIMMs with the optimal slots, then pushing them firmly into place. Be sure to push them all the way in with even pressure on both sides. You’ll know the DIMM is installed when the DIMM ejectors click closed.
- To replace the DIMM covers, position the right side of the cover over the DIMMs, then push down on the left side of the cover until it clicks into place. Replace the Mac Pro housing, turn the latch 90 degrees to the right, and lay it down flat.
- the RAM is added, replace the DIMM covers, plug the Mac Pro back in, reconnect the cables, and press the power button to start it up. If the status indicator light near the power button flashes amber, which means your Mac can’t startup. This is not an issue due to the MacBook pro RAM upgrade, but an issue with DIMM. You may have mixed DIMM types or speeds, or the DIMMs may not be seated properly.
- Once you’re up and running, select About This Mac from the Apple menu to confirm that your MacBook Pro memory upgrade is complete and that you have the correct amount of memory. If you have done the RAM upgrade correctly, but DIMMs are installed in the wrong slots, you’ll be notified by MacOS.
Note: Does this article provide the info you’re looking for? Is there any information you think of missing? You can give your opinion in the comments section.
If you like this tutorial, share this post and spread the knowledge by clicking on the social media options below because “Sharing is caring”