If you are wondering how to create a digital signature in MS Word without printing it, do not worry! A digital signature refers to an encoded electronic stamp. This signature verifies information in electronic documents, e-mails, and so on is authentic. When you add a signature to Word documents, it proves that the data came from you, the person who signed it, and did not undergo alteration. You can insert signature in Word as well as in MS Excel and MS PowerPoint.
Why Do I Need a Signing Certificate?
To create a digital signature in MS Word, a signing certificate is necessary. This verifies your identity and who you are. When you mail someone a digitally signed document, your signing certificate also goes with it. A certification authority gives out certificates that can get revoked – just like a driver’s license!
Usually, a signing certificate’s validity lasts a year. After it expires, you need to renew it or get another one to confirm your identity and digitally sign a document again.
Related: How to Create Beautiful Flyer in Microsoft Word
Why create a digital signature?
Before you learn how to add a signature to Word documents, it is imperative to know the importance of a digital signature.
- You establish your identity as authentic.
- The document you sign attains legitimacy i.e. your digital sign attests that there are no changes or tampering.
- Proves the origin of the signed document to all persons involved.
- As the signatures possess time stamps, they have the soundness of an official notarization.
Making a Signing Certificate
You can purchase a signing certificate to create a digital signature from a certification authority, but for personal use, you can make one yourself. To insert a signature in Word, you can follow the below steps.
- Go to the drive where you installed MS Office. Navigate to Program Files (x86) > Microsoft Office > root. If you have a 64-bit MS Office, then the folder organization differs, e.g. Program Files > Microsoft Office > root > Office16.
- Find the “SelfCert.exe” file and open it. The “Create Digital Certificate” window pops up. Type in the details, and click OK.

How to Create Digital Signature in MS Word 2019
A signature line acts as the characteristic placeholder for a signature in a document. The signer can add a signature to Word by typing out his signature or inserting an image of an inked signature. If you have a touch-screen tablet/PC, you can use the inking tool to digitally sign a document. Follow the steps below to insert signature in Word and digitally sign your document!
- First, you must make a signature line in MS Word 2019. Place the cursor where you want the signature line to appear in the document.
- Go to the Insert tab. Then in the Text section, click the arrow next to the Signature Line option, and select “Microsoft Office Signature Line”. A dialog box titled Signature setup will appear.

Related: How to Collaborative Editing in MS Word, Excel, or PowerPoint
- In this box, enter the information that will go with the signature line, such as name, title, email address, and any instructions necessary to digitally sign a document. There are two checkboxes below, which you can select if you require comments in the sign box, or if you want the date of the signing to be visible. Click OK.

- A line with an X on it appears, along with the details of the digital signature you just specified in the dialog box.

- Now you can insert a signature in Word document by typing or inking your signature on the line next to the X. As you write the signature, a digital version goes along to authenticate your identity. Right-click on the line and select “Sign” from the menu. A dialog box appears, where you type your name. If you do not have a signing certificate, you cannot digitally sign a document.

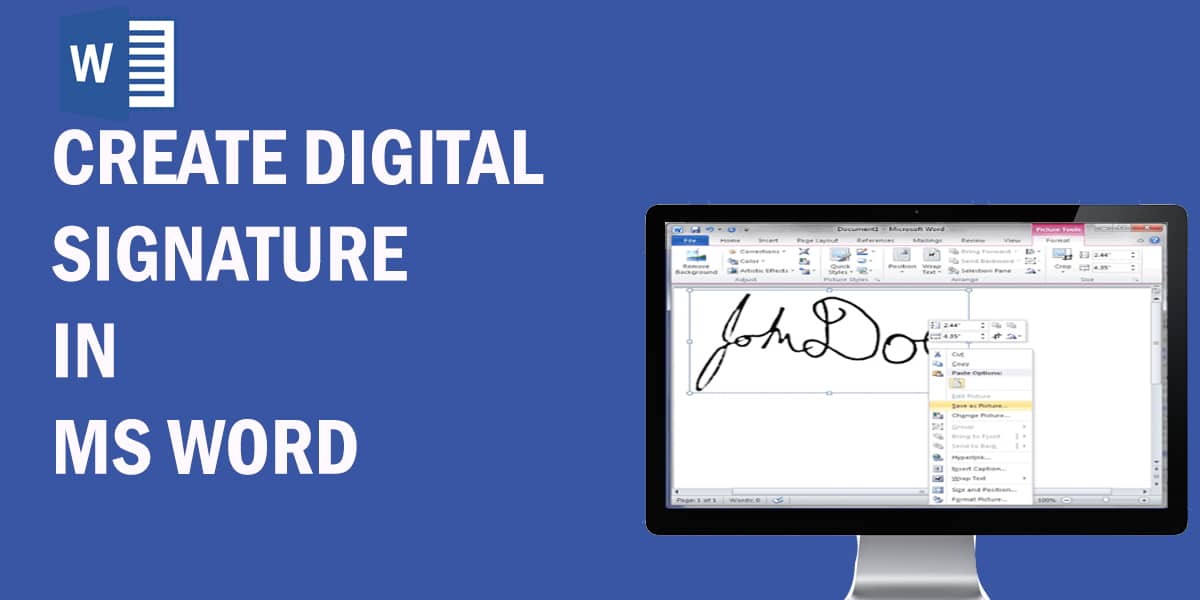
- After entering your name, click on “Sign”. To add an image of your written signature, click on Select Image. Locate the file of your signature image file, and select it.

There you go – you have just created a digital signature in Word! From now on, you cannot edit the document. A yellow bar appears warning you that “an author has marked the file as final to discourage editing”.
To make changes, click the “Edit Anyway” button on the yellow bar. MS Word 2019 removes the digital sign, so if you edit something, then you must digitally sign a document again. We advise you to add a signature to Word document after you have completed all your work. This will make sure you do not face any inconvenience.
Note: Does this article provide the info you’re looking for? Is there any information you think of missing or incorrect? You can give your opinion in the comments section below.
If you like this tutorial, share this post and spread the knowledge by clicking on the social media options below because “Sharing is caring”
Leave a Reply