What is a USB Recovery Drive?
It’s a bootable USB drive that allows you to install Windows if your Windows is unable to start due to any issue like malfunctioning or corruption in system files, etc.
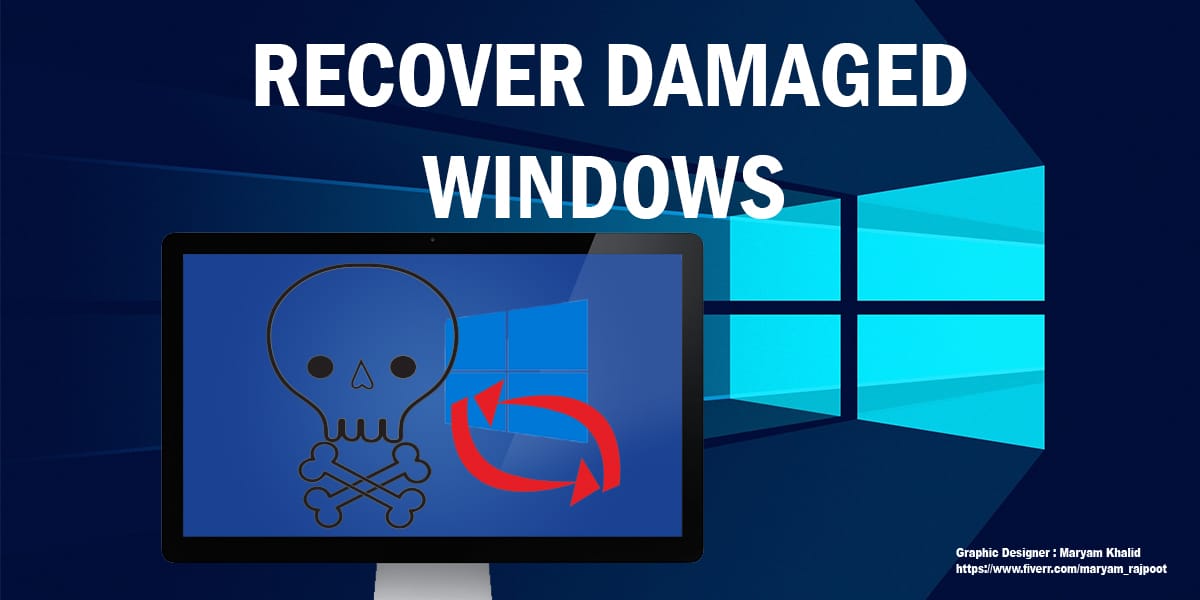
In Windows 10, you can easily create a Windows 10 recovery USB drive or a system repair disk (CD or DVD). The advantage of creating a Windows 10 repair disk or a Windows recovery USB is that you can restore your PC or laptop in case of any Windows failure.
Even if your system won’t start, the recovery media helps you to fix the problem. These bootable media provide you with the troubleshooting tools and Windows reinstall option.
Windows 10 Recovery USB vs Windows 10 System Repair Disk (CD/DVD)
Both have their advantages. Most modern laptops don’t have a CD or DVD drive. So, you can’t use a system repair disk on laptops, but you can still use it on your PC. For your pc, you should create a system repair disk as a backup in case the USB recovery doesn’t work.
You can only use Windows 10 USB recovery drive on that PC or laptop on which you have created it. But the system repair disk can be used on other computers having the same version of Windows installed.
Related: How to Increase Internet Speed in Windows 10
So, in this tutorial, you will learn how to create Windows recovery USB and Windows 10 repair disk.
How to Create a Windows 10 Recovery USB
Let’s first learn how to create a Windows 10 recovery USB drive. Before beginning the process, you need a USB flash drive having a size of at least 8 GB.
Keep in mind that once you create the recovery drive, all the data on the USB will be erased. So, before starting the procedure, make sure you have a backup of your USB data.
- Connect the USB drive to your PC or laptop. Go to the Start menu, type “Create a recovery drive” and select it from the list.

- A new Recovery Drive window will appear on the screen. At the bottom of that window, you will see a checkbox with the option “Backup system files to the recovery drive”. Select the checkbox and click Next.

- Now select the USB drive from the given options and click on Next as shown in the picture.

- Now click on Create. This will erase all the data on your USB drive and copy important files to the USB drive. This process will take some time to complete especially if you have selected the backup option in the 2nd step.

That’s it. Your USB recovery drive is ready! Now you can remove the USB drive from your laptop. This is now your Windows recovery USB, and you can use it if you ever need to troubleshoot or reset your PC. Don’t use this USB to store other files or data.
Now that you know how to create a Windows recovery USB, let’s move on to system repair disks.
Related: All You Need to Know About Data Recovery
How to Create a Windows 10 Repair Disk
- To create a system repair disk, open the Control Panel and click on Backup and Restore (Windows 7) as shown in the picture.

- Now click on Create a system repair disk.

- Select the disc drive with a Re-writable CD or DVD inserted into it, and then click on the “Create disc” option. The Windows will start to create the system repair disk within a few minutes.
That’s it. Your system repair disk is ready! You can now use this Windows 10 repair disk to reset or reinstall Windows 10.
Related: Computer Virus Protection: How to Get Rid of PC Viruses
If you create the repair disk on Windows 10 computer, you can use this disk to repair any computer having the same version of Windows 10.
Note: Does this article provide the info you’re looking for? Is there any information you think of missing? You can give your opinion in the comments section below.
If you like this tutorial, share this post and spread the knowledge by clicking on the social media options below because “Sharing is caring”
Leave a Reply